Kestrel 200 英国VISION显微镜
- 型号:Kestrel 200
- 产地:英国
- 供应商:三丰量仪精密工具有限公司
- 供应商报价:面议
- 标签:英国VISION显微镜,-1,三丰量仪精密工具有限公司
Kestrel 200Overview

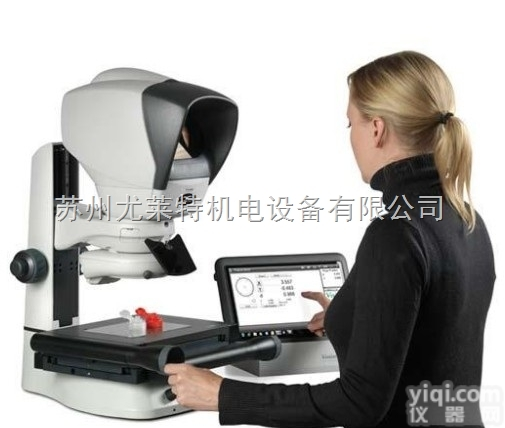
From simple manual, single-feature operation to more complex component part measurement, Kestrel 200 combines high resolution, high contrast optical images with an intuitive microprocessor to deliver accuracysimplicity for a wide range of measuring applications. The superior optical image of Kestrel even allows difficult-to-view features to be measured on low contrast components, such as black or transparent plastics.


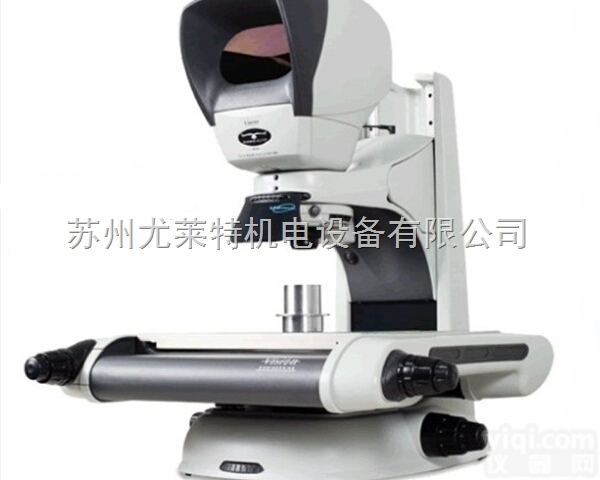
Kestrel 200 is the smallest member of the Vision Engineering optical measurement range, with a 150mm x 100mm stage making it ideal for measuring 2-D features of small, intricate parts. Data processing is performed by a QC-200 multi-function microprocessorhas been designed with ease of use in mind.
The intuitive QC-200 software can be used by shift workers or advanced usersaccommodates English, French, German, Italian, Portuguese, Spanish, Swedish, Czech, Polish, Turkish, JapaneseChinese languages.
Kestrel has been designed to be simpleeasy to use, making it ideal for offline quality control routines performed by production staff. The entry level Kestrel comes at a surprisingly low cost, yet delivers impressive accuracyrepeatability.
Accurate non-contact measurement of precision components requires high resolution, high contrast images, combined with a precision measuring stage.
Kestrel utilises Vision Engineering''s patented Dynascope™ technology to provide enhanced surface definition for fastsimple measurement. The superb optical clarity also allows detailed visual inspection to be performed simultaneously.
Unlike video systems which digitise the optical information, Kestrel employs a pure optical image meaning that there is no image processing before the measurement. Component parts can thus be measured with confidence.
Surfacesub-stage illumination options enable adjustment of lighting to suit any application. Surface illumination is provided by 2 x semi-coaxial spot lamps, with the option of episcopic (through the lens) illumination for viewing blind bores or deep surface features. Quick-change magnification options are: x10, x20, x50 (x20 fitted as standard).
 |  |  |  |  |
 | ||||
| Profile |  | Surface |  | Surface & Profile |
| Metro-FORM Internal Dimension Measurement |
 read more read more |
Measurements are performed on a high performance 3-plate aluminium stage, providing a measuring range of 150mm x 100mm. The stage is gimbal mounted to ensure critical parallel positioninghas factory-completed non-linear error correction (NLEC) calibration to ensure optimum accuracy, traceable to NPL/NAMAS/NIST standards for the purposes of ISO9000. Combined with 1µm resolution measuring encoders, this provides a system repeatability of 5µm for complete confidence in your results.
Data processing is performed by the QC-200 multi-function microprocessor. QC-200 is ideal for measuring 2-D featureshas been designed with ease of use in mind, featuring an intuitive interface with meaningful visual displays. XY measurements are represented in both numericin graphical form. Results can be printed via a parallel printer port or exported to third-party software via serial port.
QC-200Quadra-Chek digital readoutsmetrology software are the premier systems for the measurementinspection of 2-D geometric components. A QC-200 digital readout is the standard control interface on the Kestrel non-contact measuring system, providing a powerful combination to empower operators along every step of the measurement process. Patented features reduce repetitive measurementssimplify complex work steps.
A consistent, intuitive interface ensures operator accuracyreduces training time.
To measure, simply probe pointsclick. QC-200 detects, without the operator''s intervention, the feature type being measured. With the patented Measure Magic® feature, operators can inspect multiple features without taking their eyes off the part, increasing throughput, improving accuracyreducing user fatigue.
An audible tone also sounds from the in-built speaker to prompt operator action without interrupting workflow, speeding up data entry.
Program a measurement sequence oncerun it back as often as you need. Measure the same number of points per feature, in the identical sequence, part after part.
Obtain essential intersectionconstruction results by selecting from the list of previously measured features, complete with graphics.
QC-200''s unique graphical representation instantly displays pass/fail performance details for critical part dimensions. Resultsimportant measurement data are displayed in an unclutteredcomprehensive LCD display.
 |  |  |  |  |
 | ||||
| Measurement Results |  | Intersections & Constructions |  | Data Cloud |
QC-200 decreases training timecosts with graphics-rich, context sensitive help that guides shop floor personnel through Quadra-Chek interface conventions.
Get the right tools for the job. Optional remote keypads, footswitchesprinters help operators capture the precise measurement data more conveniently while streamlining the work process.
As standard, QC-200 can accommodate English, French, German, Italian, Portuguese, Spanish, Swedish, Czech, Polish, Turkish, ChineseJapanese languages.

To discuss your particular requirement in further detail, please contact your local Vision Engineering representative.
| Kestrel 200 | |
| Magnification Options | x10, x20*, x50 |
| Surface Illumination Options | 60W semi-coaxial spot lamps* 150W 6-point ringlight 100W episcopic (through the lens) |
| Substage Illumination | 30W substage |
| Data Processor Options | QC-200*, QC-300 |
| Measuring Range X Y | 150mm 100mm |
| Maximum Glass Plate Load | 10kgs |
| Encoder Resolution | 1.0µm |
| Stage Repeatability X Y | 0.005mm 0.005mm |
| Measurement Uncertainty | U952D = 7+(6.5L/1000)µm* |

